
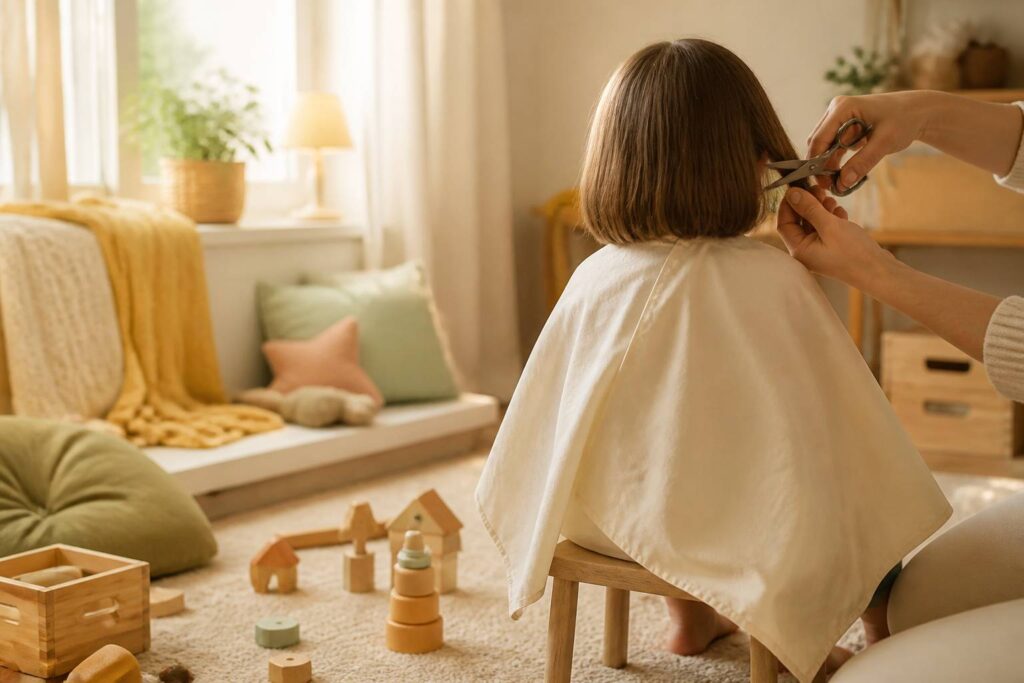
Essential equipment for cutting your child’s hair at home
Choosing the right equipment turns a potentially stressful operation into a simple and safe action. Unsuitable tools waste time and increase the risk of accidents or an unattractive haircut. It is therefore essential to equip yourself wisely even before seating the child.
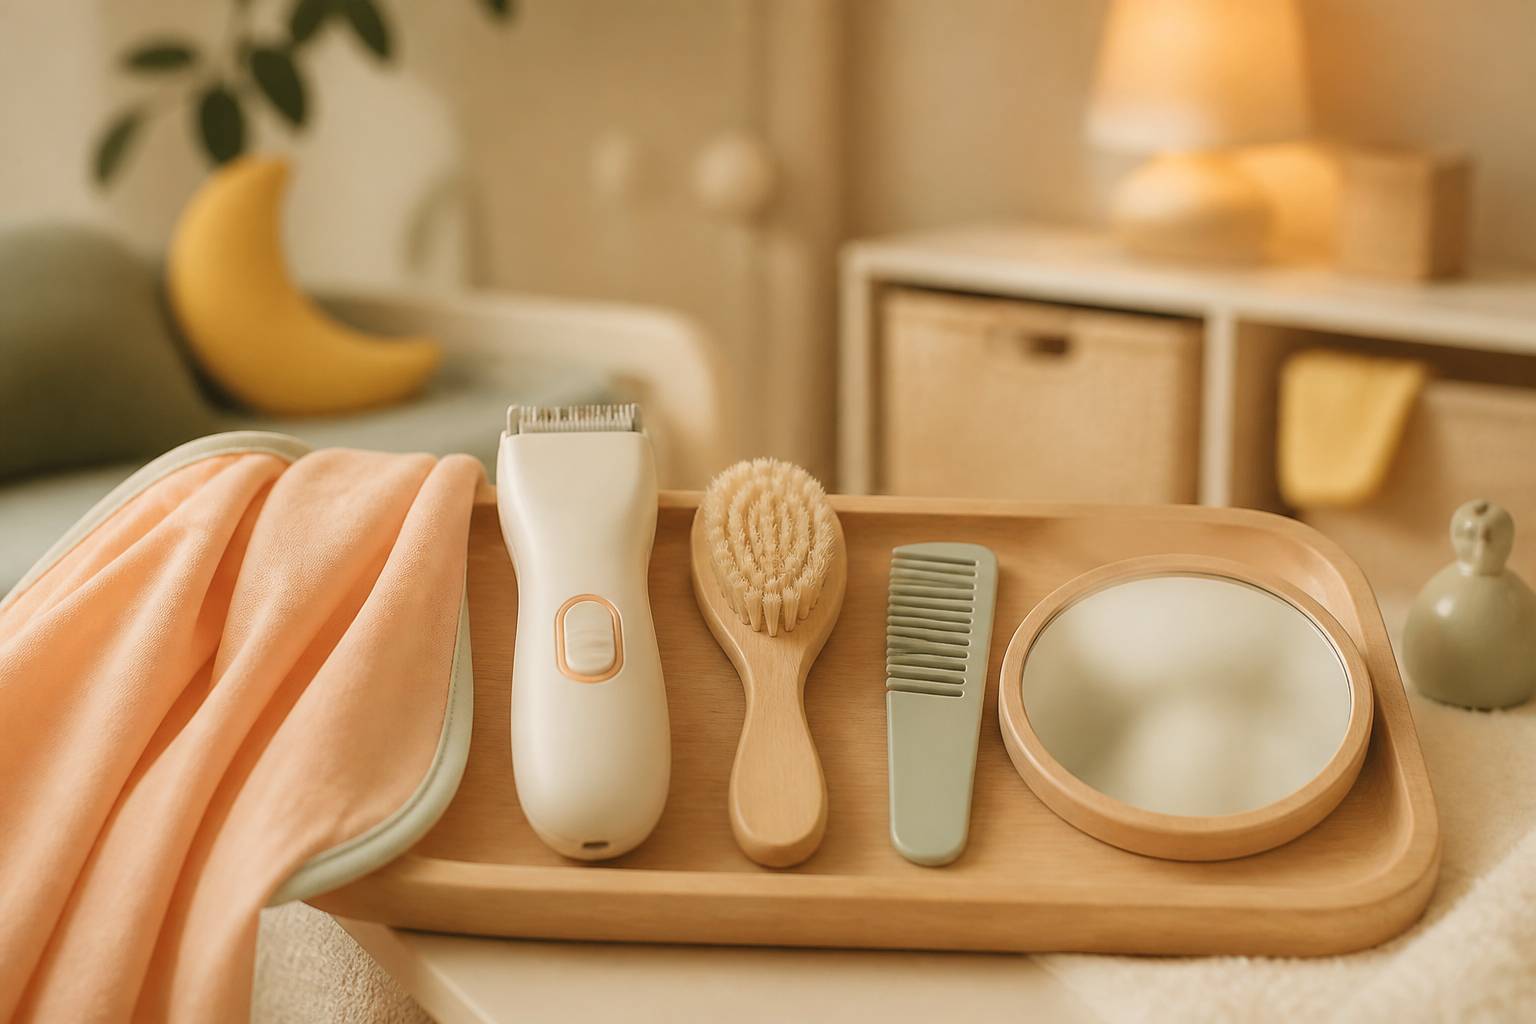
The starting point is to gather a limited but effective set: hairdressing scissors, a spray bottle of water, a wide-tooth comb, a clipper if a short cut is planned, a cape or towel to protect clothing, and a booster/sturdy chair for posture. Each element plays a specific role in the safety and precision of the cut.
Why hairdressing scissors and not just any scissors?
Hairdressing scissors are designed to glide cleanly through the hair fibers without crushing the hair. Unsuitable tools, like kitchen scissors, can pinch or split the fibers, making the cut uneven and uncomfortable.
A dedicated pair of scissors usually costs between 10 and 30 euros in supermarkets or pharmacies. These scissors must remain sharp: poor sharpening increases the need to pull on the lock, which can lead to sudden movements if the child moves.
Other practical items
The spray bottle allows you to lightly dampen the hair and achieve a more even cut. It is not necessary to soak the hair; simply dampen it to control the locks.
The clipper is useful for short cuts or to create a fade. A basic model with various guards facilitates learning. The number 3 guard is often recommended as a starting point for a versatile result.
| Tool | Role | Indicative price |
|---|---|---|
| Hairdressing scissors | Precise cutting of locks, bangs and touch-ups | 10–30 € |
| Clippers + guards | Short cut, fades, finishing around the ears | 20–60 € |
| Spray bottle | Moisten without soaking excessively | 1–5 € |
| Wide-tooth comb | Sectioning, detangling, smoothing locks | 2–10 € |
| Towel / cape | Protect clothing and catch cut hair | 0–15 € |
Organization and ergonomics: why the chair and lighting matter
Seating the child on a stable chair, possibly on a booster, ensures better access to the entire head. It is preferable that the chair allows aligning the child’s face with the hairdresser-parent’s gaze to reduce neck tension.
Lighting is critical: sufficient light avoids angle errors and helps spot finer locks. A lamp positioned behind the adult, directing light toward the child’s head, is often the simplest solution.
Practical checklist before starting
- Check the scissors’ sharpness and test the clipper on a garment to hear the sound.
- Place a towel under the chair to ease cleaning.
- Prepare distractions (book or tablet), pacifier if the child has one, and a small attractive toy.
- Have a first aid kit within reach (compresses, mild disinfectant, bandages).
Good preparation reduces uncertainty and allows approaching the cut serenely. Insight: choosing suitable tools and organizing the space is already half the work.
A little attention to the order of elements facilitates the transition to the technical gestures described later.
Preparing the child and environment: gentle gestures to reduce stress during the cut
A child who feels safe and understood will accept the haircut more easily. The chosen moment, the atmosphere, and the way of explaining what will happen greatly influence cooperation.
It is advised to schedule the cut at a time when the child is rested and fed, never when they are hungry or very tired. A cranky child will tend to fidget more, which increases the risk of incident.
Create a reassuring routine
Establishing a mini-ritual helps defuse anxiety. For example: seating the child, offering a favorite book, placing a colorful towel and announcing the short duration of the operation. These cues reassure and encourage cooperation.
The presence of a safe duo, for instance a parent gently holding the hand or speaking calmly, offers the child a stable framework. A gentle voice and positive comments (“look how pretty it is”) reinforce the idea that the cut is a simple and pleasant moment.
Effective distraction techniques
Distraction must be age-appropriate. For toddlers, a pacifier or a luminous toy will often work better than a long video. For older children, a short video clip or a favorite song suffices.
A concrete example: Léa, mother of a three-year-old boy named Théo, found that by offering a choice of songs and giving him a small mirror to watch, Théo stayed calmer. Active involvement—asking him to choose the song—creates a feeling of control in the child.
Repetition of the haircut at short intervals (regular touch-ups) habituates the child to the gesture and reduces apprehension. Seeing a brother or sister getting their hair cut without consequence can also demystify the act.
Positioning and emotional safety
The choice of seat impacts physical safety: a stable booster, secured if necessary, prevents unwanted rocking. Always keep one hand near the neck to stabilize the head without squeezing.
When it is necessary to immobilize the child, prefer gentle means: a parent sitting facing the child, offering a hug or supporting the torso, is preferable to rigid restraint. The emphasis must remain on comfort, not dominance.
Scenarios and solutions: common minor problems
If the child starts to cry, stop, speak calmly, and offer a first reward (a sticker). Resume only when the child is soothed. A haircut can wait a few minutes; forcing increases stress and multiplies risks.
In case of sudden movement, keep the scissors closed immediately and move the tool away. Showing that safety comes first will strengthen trust for the next attempt.
The key tip: preparing the child mentally and arranging the space transforms a simple haircut into a shared moment. Insight: patience and staging are tools as powerful as the scissors.
This image illustrates how a controlled atmosphere significantly reduces risks and the duration of the session.
Step-by-step techniques: cuts for short, medium-length, bangs, and fades
The technique varies depending on hair length and texture. A successful cut relies on simple repeated gestures, visual cues, and a progressive logic: forehead, sides, top, nape.
A permanent rule: work with small locks and use the first cut lock as a guide for the following ones. This ensures uniformity even if the child moves slightly.
Short cut with scissors and clippers
For a short cut, start at the nape and sides. If using clippers, attach a suitable guard (for example guard no. 3) and clip upwards toward the crown, keeping the clippers at 90° relative to the skull.
Move the device slowly and in a straight line to avoid irregularities. Remove the guard to draw the neckline and clear around the ears as finishing touches. Always finish with scissors to adjust the top and bangs.
Medium and long hair: sectioning and using a guide
On longer hair, divide into sections: two lateral, two back separated by a central parting, and the top tied. Brush each section downward and cut the first back section to the desired length; it will serve as a guide.
To achieve an even cut, pull each lock at a 45° angle and cut the underside of the lock, progressing section by section. For curly hair, note that it shrinks when drying: cut less to avoid getting a too short length.
For bangs, work lock by lock, dampened and held between the index and middle finger; cut at a 45° angle for a smooth transition. When a straighter effect is desired, cut little by little and always removing less than the final targeted length.
Fade and blend: practical tips
Creating a fade requires alternating guards or combining clippers and scissors. Start low with a shorter guard, then go up with a longer guard for the top. Make slightly circular arcs by bringing the clippers toward you to blend lengths.
If the technique seems difficult, opt for a light fade or ask for a simple and regular cut that requires fewer precise transitions. Frequent maintenance facilitates keeping the cut without sophisticated touch-ups.
These techniques allow adapting the cut to the child’s personality and available time. Insight: prioritize safety and gradual progress over perfection on the first try.
The image highlights the importance of precise gestures and lock control for a clean result.
Essential precautions and common reactions: handling minor incidents
Vigilance is essential: very sharp scissors near a moving head. Anticipate movements and position hands to protect the child — these are reflexes to cultivate.
Sensitive areas are around the eyes, earlobes, and nape. Approach these areas slowly, calmly explain what will be done, and keep a protective hand near the face to reduce risks.
What to do in case of a small cut?
A superficial cut occasionally occurs. The priority is to stop the session in order to calm the child. Gently press with a clean compress to stop the bleeding.
Clean with a mild antiseptic and protect with a suitable bandage. If the cut is deep or bleeding does not stop after a few minutes of pressure, go to the emergency room or consult a healthcare professional.
Precautions related to clippers
Clippers, although practical, produce noise that can scare. Let the child hear it before use, show how it works on an adult’s hand or cushion, which helps reduce anxiety.
Use appropriate guards, hold the device firmly, and avoid rapid movements. Always keep the clipper moving to avoid overheating and gradually control the cut.
Emotional reactions and simple remedies
A child may show fear or anger. The most effective response is soothing: slow breathing, reassuring speech, and, if necessary, a pause. Offer a symbolic reward (sticker) to reinforce positive association.
If the child refuses categorically, postpone the cut rather than forcing. Experience shows that forcing often leads to greater resistance during future attempts.
Safety and kindness must guide every gesture. Insight: anticipate, protect, and know when to stop avoid most incidents.
Having a first aid kit simplifies handling a small incident and reassures both parent and child.
Tips for maintaining the cut and turning the routine into a calming moment
Regular maintenance keeps the hair light and helps the child get used to the gestures faster. Small frequent touch-ups are preferable to rare and long sessions.
Regularity creates habit: cuts every 6 to 8 weeks for short hair, and bang touch-ups every 4 to 6 weeks, limit the need for long and stressful sessions.
Easy routines and rituals
Establish a simple ritual before each cut— for example a song, a chosen toy, or a light snack — to prepare the child. Showing images of possible cuts on inspirational sites helps define a clear goal together.
For inspiration, parents can consult galleries of children’s haircuts, notably on specialized sites like lesjulescoiffure.fr, which offer clear visuals and ideas of suitable lengths by age and face shape.
Gradual habituation: concrete examples
Example: Hugo, aged 4, was afraid of clipper noise. His parents started by showing the clipper running at a distance, then gradually brought it closer over several days. After three short tries, Hugo accepted the clipper for a light fade.
Another tip: ask the child to hold a mirror and watch the result in real time. This gives a feeling of control and turns the cut into a participatory game.
Practical list: gestures to try at the next haircut
- Slightly dampen the hair with the spray bottle before cutting.
- Cut small locks and take the first as a guide.
- Use the clipper only for the back and sides, finish with scissors.
- Offer a symbolic reward after the session.
- Plan frequent touch-ups rather than a long annual session.
Gradually teaching the experience through cuts builds mutual trust. Insight: turning the haircut into a short and predictable ritual makes daily life easier and reduces parent-child stress.
These small habits help establish a calm relationship with haircuts, for the child’s well-being and parents’ peace of mind.